
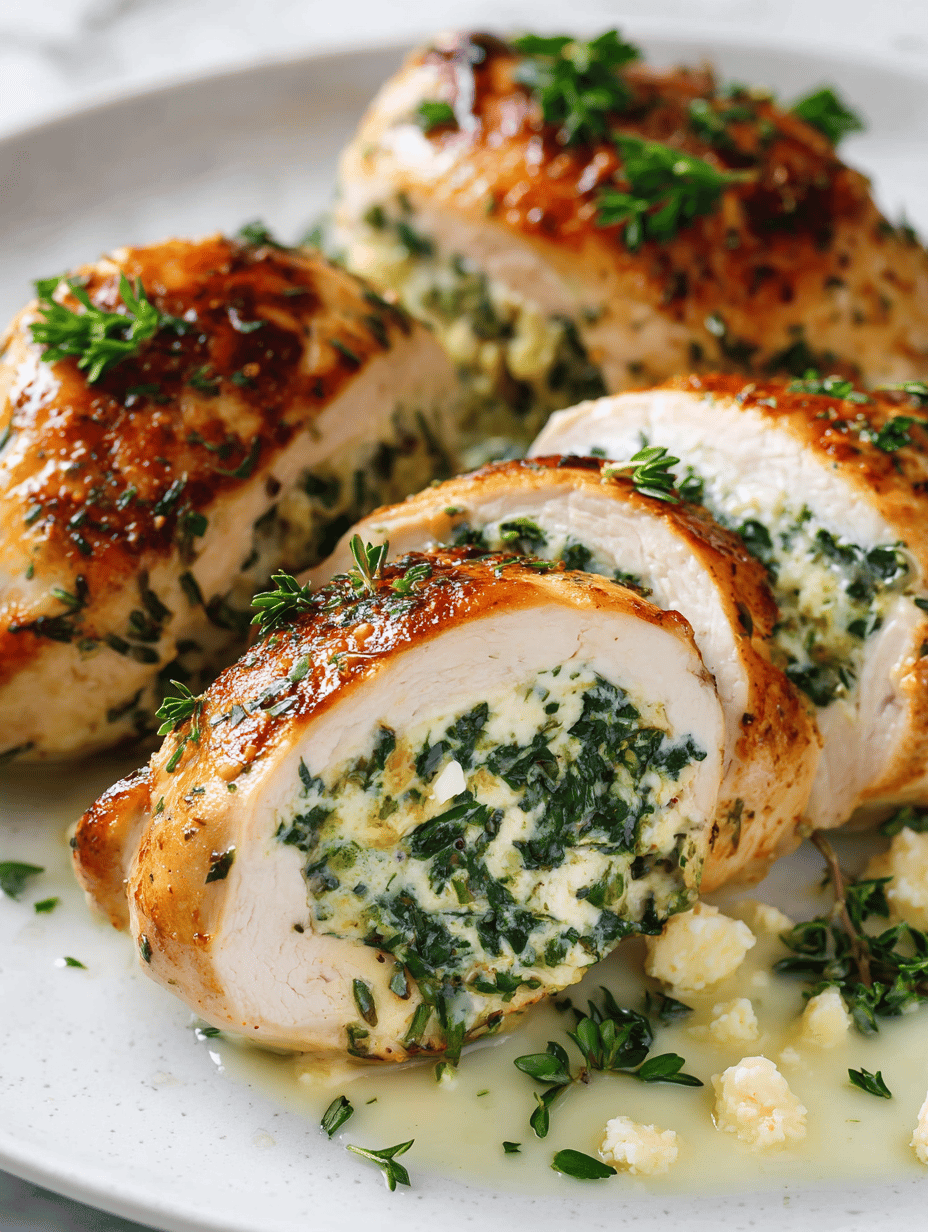
Stuffed chicken breasts are a go-to for when you want to impress without fuss. The secret is in the filling—creamy, bright, with a hint of smoky spice—that turns simple chicken into a star. This recipe is about that moment when you carve into it and the filling oozes out, warm and inviting.
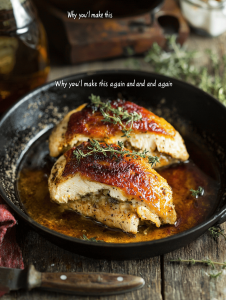
Why you’ll make this again and again
The combination of tender chicken and velvety filling keeps calling me back. It’s forgiving, customizable, and always feels special, whether for a quick weeknight dinner or a cozy weekend meal. Plus, it makes the house smell incredible, like a little savory celebration every time.
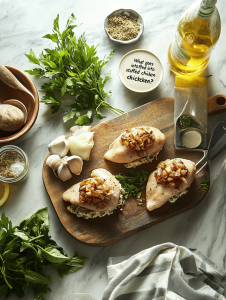
What goes into stuffed chicken?
- Chicken breasts:: Thick and juicy, a blank canvas for your filling—choose boneless, skinless for ease.
- Cream cheese:: Adds a luscious, velvety texture—swap with ricotta or mascarpone for a different creaminess.
- Fresh herbs:: Parsley, basil, or chives brighten the filling with fresh, grassy notes.
- Lemon zest and juice:: A zing of brightness cuts through richness—don’t skip it.
- Smoked paprika:: Gives a smoky undertone and a gentle warmth—use cayenne if you like heat.
- Salt and pepper:: Season generously; these are the backbone of flavor.
- Optional add-ins:: Sun-dried tomatoes, chopped olives, or roasted peppers for extra punch.
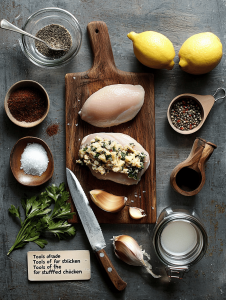
Tools of the trade for stuffed chicken
- Sharp knife: To carefully create the pocket in the chicken breast.
- Mixing bowl: To prepare and combine the filling ingredients.
- Skillet or oven-proof pan: For searing and baking the chicken.
- Meat thermometer: To ensure the chicken is cooked perfectly.
Step-by-step guide to stuffing and baking
Step 1: Preheat your oven to 200°C (390°F).
Step 2: Slice a pocket into each chicken breast, being careful not to cut all the way through.
Step 3: Mix your filling: cream cheese, chopped herbs, a squeeze of lemon, and a pinch of smoked paprika.
Step 4: Stuff the chicken breasts with the filling, pressing gently to seal.
Step 5: Secure with toothpicks if needed.
Step 6: Heat a skillet over medium-high, add oil, and sear chicken until golden, about 3-4 minutes each side.
Step 7: Transfer skillet to oven, bake for 20-25 minutes, until cooked through.
Step 8: Remove from oven, let rest 5 minutes before slicing.
Cooking checkpoints and tips
- Ensure the chicken is not overstuffed to prevent bursting during cooking.
- The sear should be golden and crispy, not burnt. Adjust heat if necessary.
- Use a meat thermometer—165°F (74°C) in the center means it’s ready.
- Rest the chicken properly to keep those juices in and avoid dry bites.
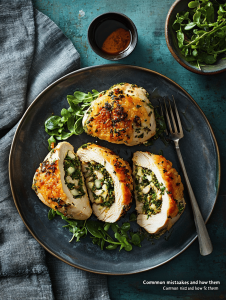
Common mistakes and how to fix them
- Cutting through the chicken or tearing the pocket.? Use a sharp knife to prevent tearing the chicken.
- Overstuffed chicken that bursts during cooking.? Don’t overfill the pocket; keep it manageable.
- Burnt outside, raw inside.? Sear on medium heat, not high.
- Juices running out when sliced.? Rest the chicken after baking.
Stuffed Chicken Breasts with Creamy Herb Filling
Ingredients
Equipment
Method
- Preheat your oven to 200°C (390°F) and gather all your ingredients.
- Using a sharp knife, carefully cut a horizontal pocket into each chicken breast, making sure not to cut all the way through.
- In a mixing bowl, combine softened cream cheese, chopped herbs, lemon zest, lemon juice, smoked paprika, salt, and pepper. Stir until smooth and fragrant.
- Stuff each chicken breast with the herb and cream cheese mixture, pressing gently to seal the filling inside. Use toothpicks if needed to keep it closed.
- Heat oil in a skillet over medium-high heat until shimmering and slightly fragrant. Sear the stuffed chicken breasts for about 3-4 minutes per side, until golden brown and crispy.
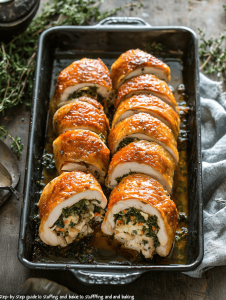
- Transfer the skillet to the preheated oven and bake for 20-25 minutes, or until the chicken reaches an internal temperature of 165°F (74°C).
- Remove the chicken from the oven, let it rest for 5 minutes to retain juices, then slice to reveal the oozing, flavorful filling inside.
- Serve hot, sliced into thick pieces, allowing the creamy filling to spill out beautifully with each cut.